[page_title]
I trust everyone welcomed in the New Year in the usual style. I had a very lovely time with some friends, their new-born baby son and 4-year-old, so it wasn’t as heavy as some of my previous rock ‘n’ roll new years, but most enjoyable nonetheless. So, let me extend belated new years greetings to you all (due to publishing time), and I’d also like to extend a new years welcome to the first proper grey hairs that have infiltrated my rapidly receding hairline.
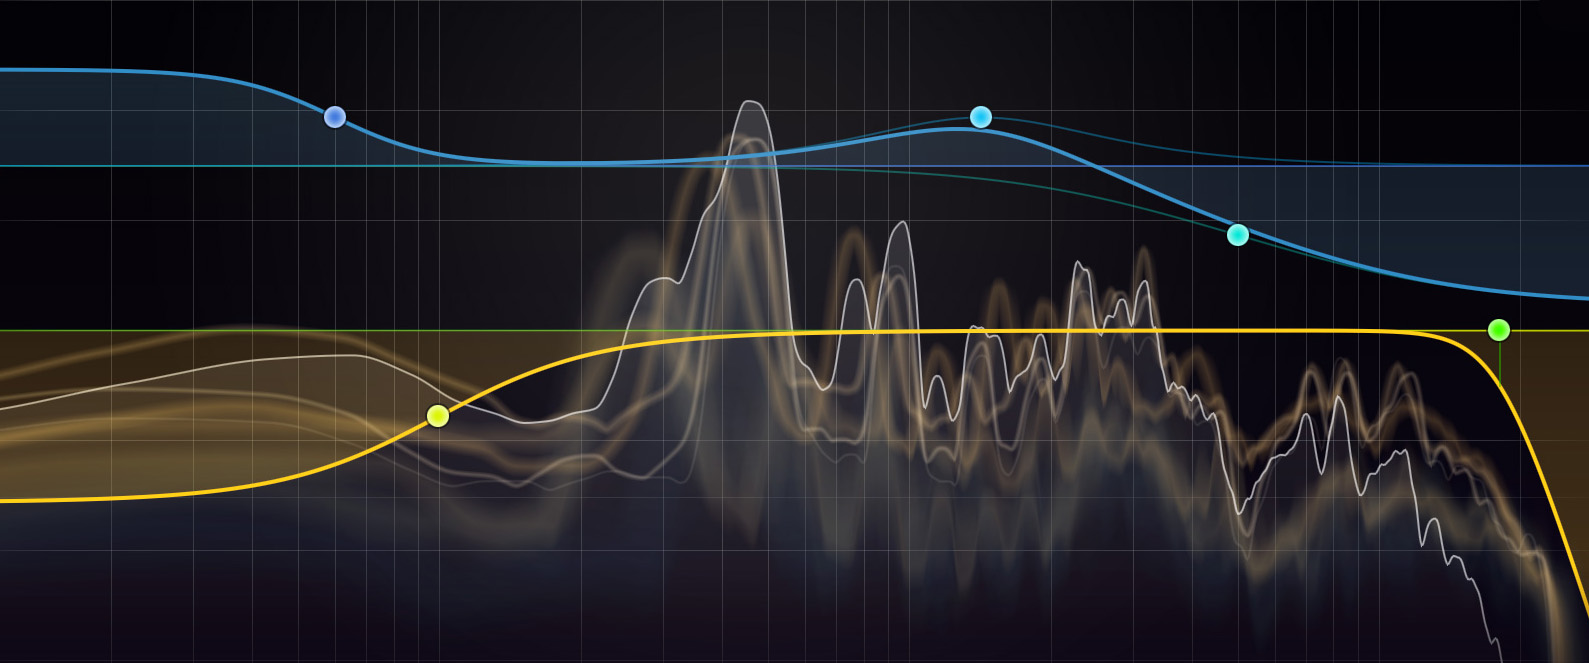
The last couple of columns I’ve written weren’t very technical, so I thought I’d start this year off by talking about something I have been working on for the last 6 months or so. Have you ever found that stereo mixes on big PA systems can some times just sound flat? The sound just stays in the boxes and appears very distant; you feel you can just push over this ‘wall’ of sound with one hand. Other times, the sound can be so oppressive it feels like you are just being pushed down into a crack in the floor, but the sound pressure levels aren’t exceeding normal operating parameters. No matter what you do, the mix never jumps into life.
 My girlfriend bought some new speakers for the living room a few months ago. We sat down and listened to our favourite albums for hours. You could hear every breath of the singers, and it was like we were projected into the rooms where these albums were recorded. This got me thinking…
With live audio, close micing is the only way we can get the separation we need, so this idea of hearing the room only comes down to the room you are in. But, if there is a way to create an audible 3D image, just like in sound navigation and ranging images. Sonar works on the principle of echolocation, where the computer translates sound waves into an image we can see and recognise. I wanted to see if it was possible of create another depth to a stereo image, like a kind of triphonic image, so not only do you have left and right, but also front and back.
This idea whirls around the Euclidean universe of phantom imaging, psychoacoustic localisation, and leaves us dazed and confused in the resplendent headlights of the reverberation super highway.
The simple theory goes; a sound has more reverb on it the further away it is. It makes sense; we can hear this every single day as soon as we step out side the front door.
With this in mind, if we create an overall ambient room reverb, then add this to the instruments towards the back of the stage, adding more as the instruments get further back; this will create an image of distance. The trick with getting this right is not to over egg the pudding. Too often you are able to hear reverb, but this needs to be subtle and work with the room. If you can hear it, there is too much!!
You need to have a stereo send and return set up for your reverb, so you can control where your instrument is going to sit along your audio horizon. Then you need to make sure you have your diffusion and density set correctly. This isn’t something that we really talk about much in the live world, but I think these parameters are the most important when setting up a reverb. The idea here is to make the reverbs as spacious as you can. Creating space between the each echo will let the natural reverb of the room fill up the gaps between each echo. The diffusion and density parameters control how your reverb sits in the room; have you ever added the same reverb the following night and it just doesn’t sit right? Changing the diffusion and density settings will help any reverb adapt to the room surrounding it. This technique requires a low diffusion and a low density.
Think of your pre delay as your stage depth. Just like how we work out our time delays for our speaker stacks, we can apply the same idea to stage depth. 1 millisecond equals 1 foot or ¼ meter roughly, and using this you can add an audible depth to your stage. Then we get to reverb time. This for me is actually the least important part of a reverb; this is actually how obvious the reverb becomes. For this depth effect, we don’t really want anything much over a second.
This isn’t just a case of adding reverb to everything and hoping it comes together properly. The application of this reverb boils down to where each instrument physically sits on the stage. If your drums are at the back add more reverb to them, then add a touch of guitar and bass, and pan slightly to the left or right depending on stage position. Don’t try and smother everything in reverb otherwise you won’t have a very defined mix. The aim is to sink your instruments back slightly and give the illusion of depth, without compromising on the integrity of your mix.
Thanks so much for reading. Until next time…
First Published in Audio Pro International, Jan 2011